MkDocs website
MkDocs is a popular static site generator specifically designed for creating documentation websites. It allows you to write your documentation content in Markdown format and automatically generates a static HTML website.
Here are a few reasons why MkDocs is a good choice for technical documentation:
-
Simplicity
It has a minimalistic approach, focusing on the essentials of documentation without unnecessary complexity. -
Markdown support
With MkDocs, you can write your documentation content in Markdown, making it accessible to both technical and non-technical contributors. -
Navigation and search
MkDocs automatically generates a navigation menu based on the directory structure of your documentation. Additionally, it provides a built-in search functionality that allows users to quickly find the information they need within your documentation. -
Customizability
MkDocs offers a range of customizable themes and templates, allowing you to tailor the appearance of your documentation to match your brand or project. -
Versioning and deployment
MkDocs supports versioning, making it convenient to manage and publish multiple versions of your documentation. -
Integration with version control systems (VCS)
MkDocs works well with VCS like Git. You can store your documentation files in a Git repository, making it easy to collaborate with team members, track changes, and manage contributions.
In this document, I share the process of building an MkDoc static website and hosting in on GitHub pages.
Prerequisites§
- VS Code (or other source code editor)
- Python extension installed
- GitHub account
- GitHub desktop
Step-by-step guide§
The instructions below help create a GitHub repository, clone the repository to the local machine, launch the MkDocs website with Python, and publish it to GitHub pages.
Create GitHub repository§
To create new repository in your GitHub account
- Log in to your GitHub account.
- At the top left corner, select + > New repository.
- Give a name to your repository.
- Select Public.
- Select Add a README file.
- For .gitignore select Python.
- (Optional) For the Choose a license step, select the GNU General public license from the dropdown list.
- Select Create repository. Your repository has been created.
- Open your GitHub desktop account and clone the repository.
Now you can make changes locally and then commit and push them to GitHub account in the web.
Build website§
To build a website
- Open your cloned project in VS Code and open its terminal.
-
Assuming you have Python already, create virtual Python environment by using the following command:
bash python -m venv venv -
Activate it using the following command:
bash source venv/bin/activate -
Install MkDocs with the following command:
bash
   pip install mkdocs-material
All the dependencies are downloaded for the website.
-
Created a new website by using the command:
You now have two files created for the website:
-
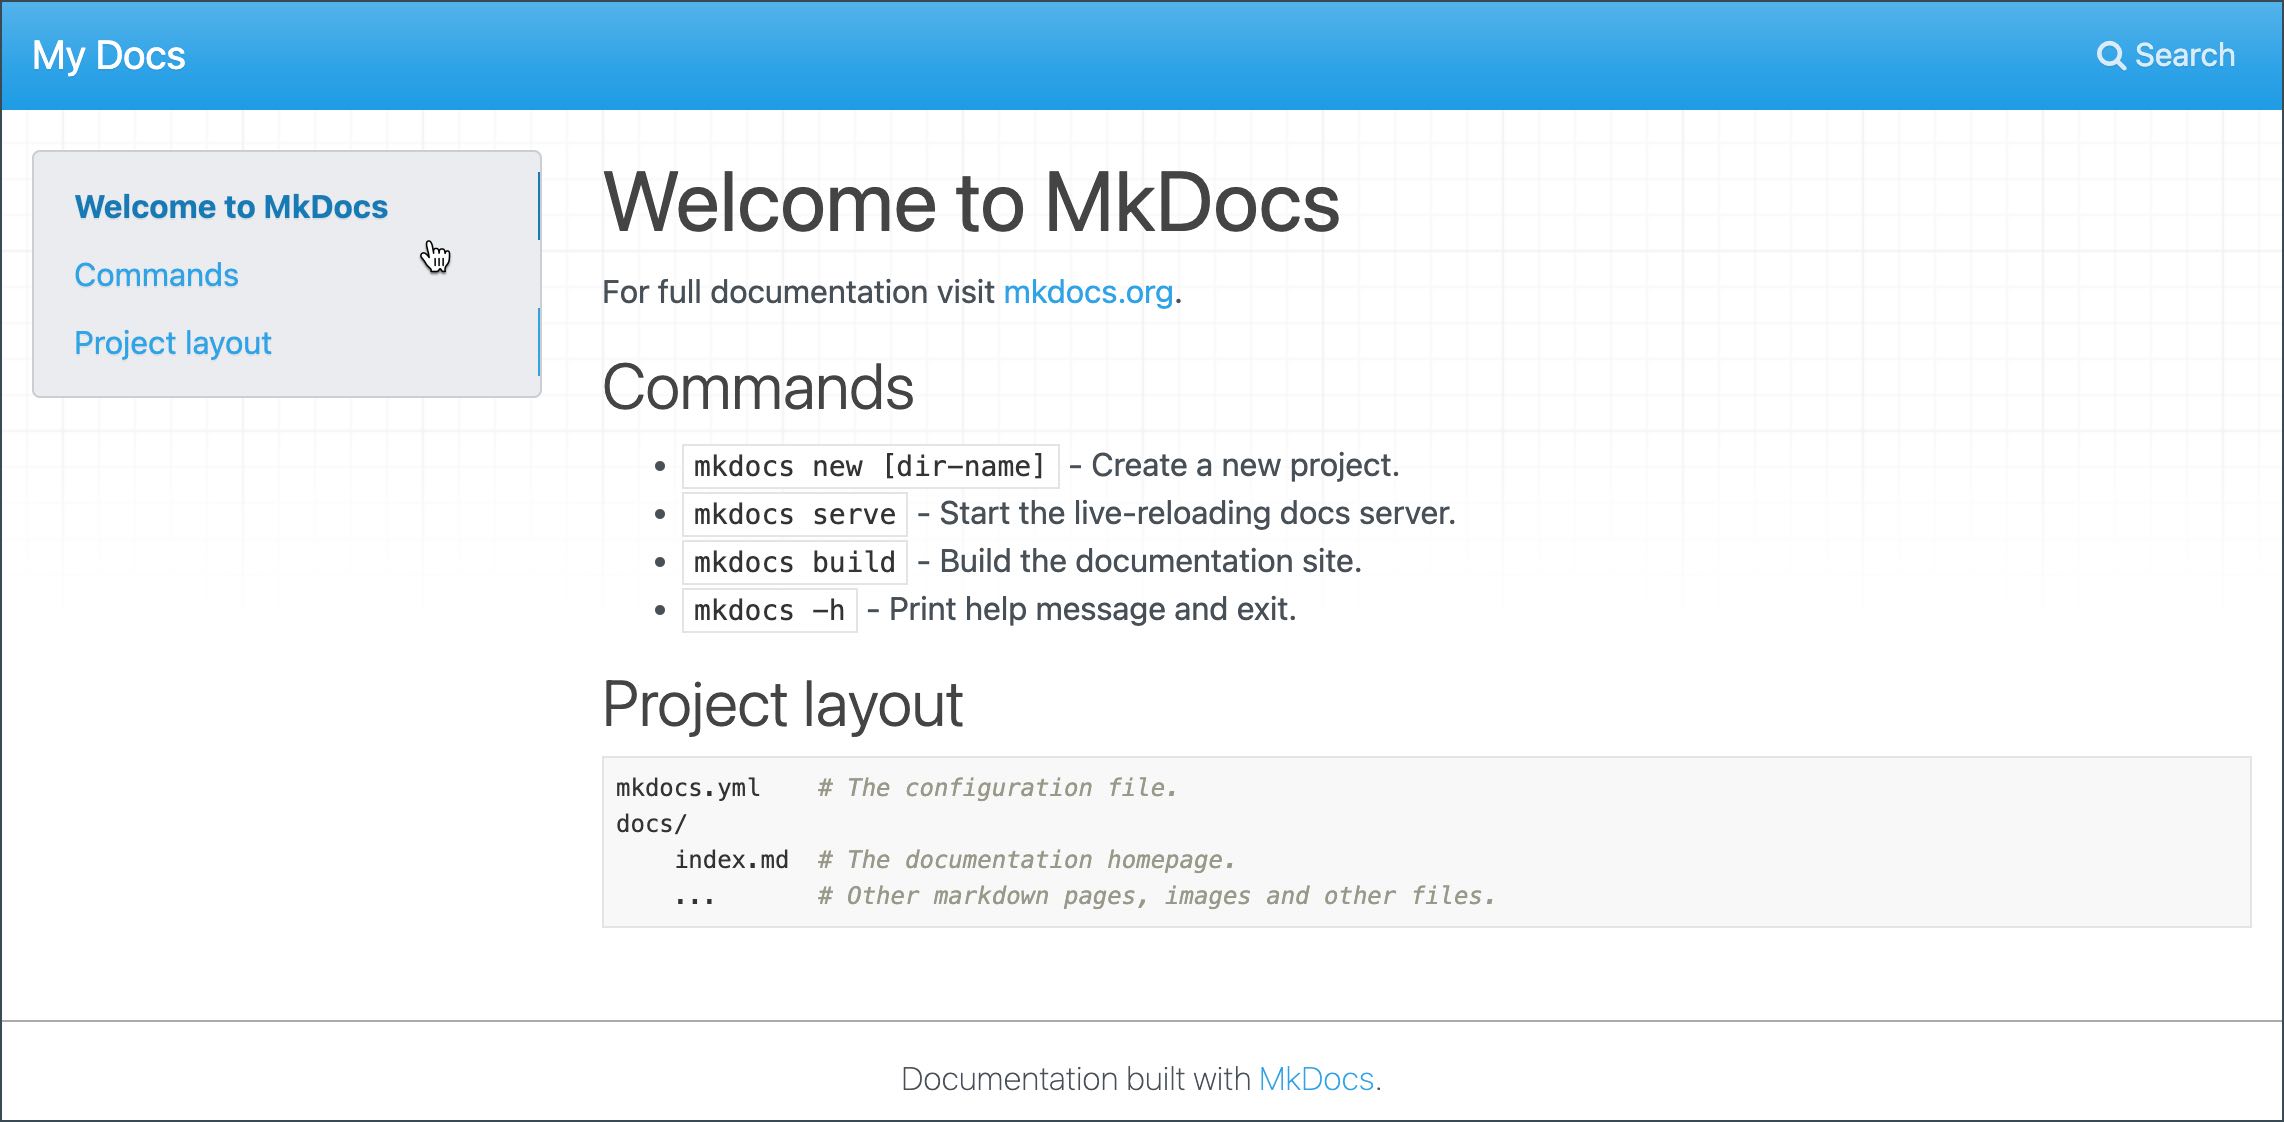
Run the website locally by using the command:
bash
   mkdocs serve
The website runs locally at
http://127.0.0.1:8000/ -
Open the website by copying and pasting the local host address into the browser address bar. The website is served and can be accesses locally.
If you need to make a pause and activate the env some time later, use the following commands in the VS Code terminal of the project:
Configure website§
The website has the initial configuration. You can add configuration using the Material for MkDocs documentation. Let us proceed with the basic setup.
To configure MkDocs website
- Open your mkdocs.yml in VS Code.
-
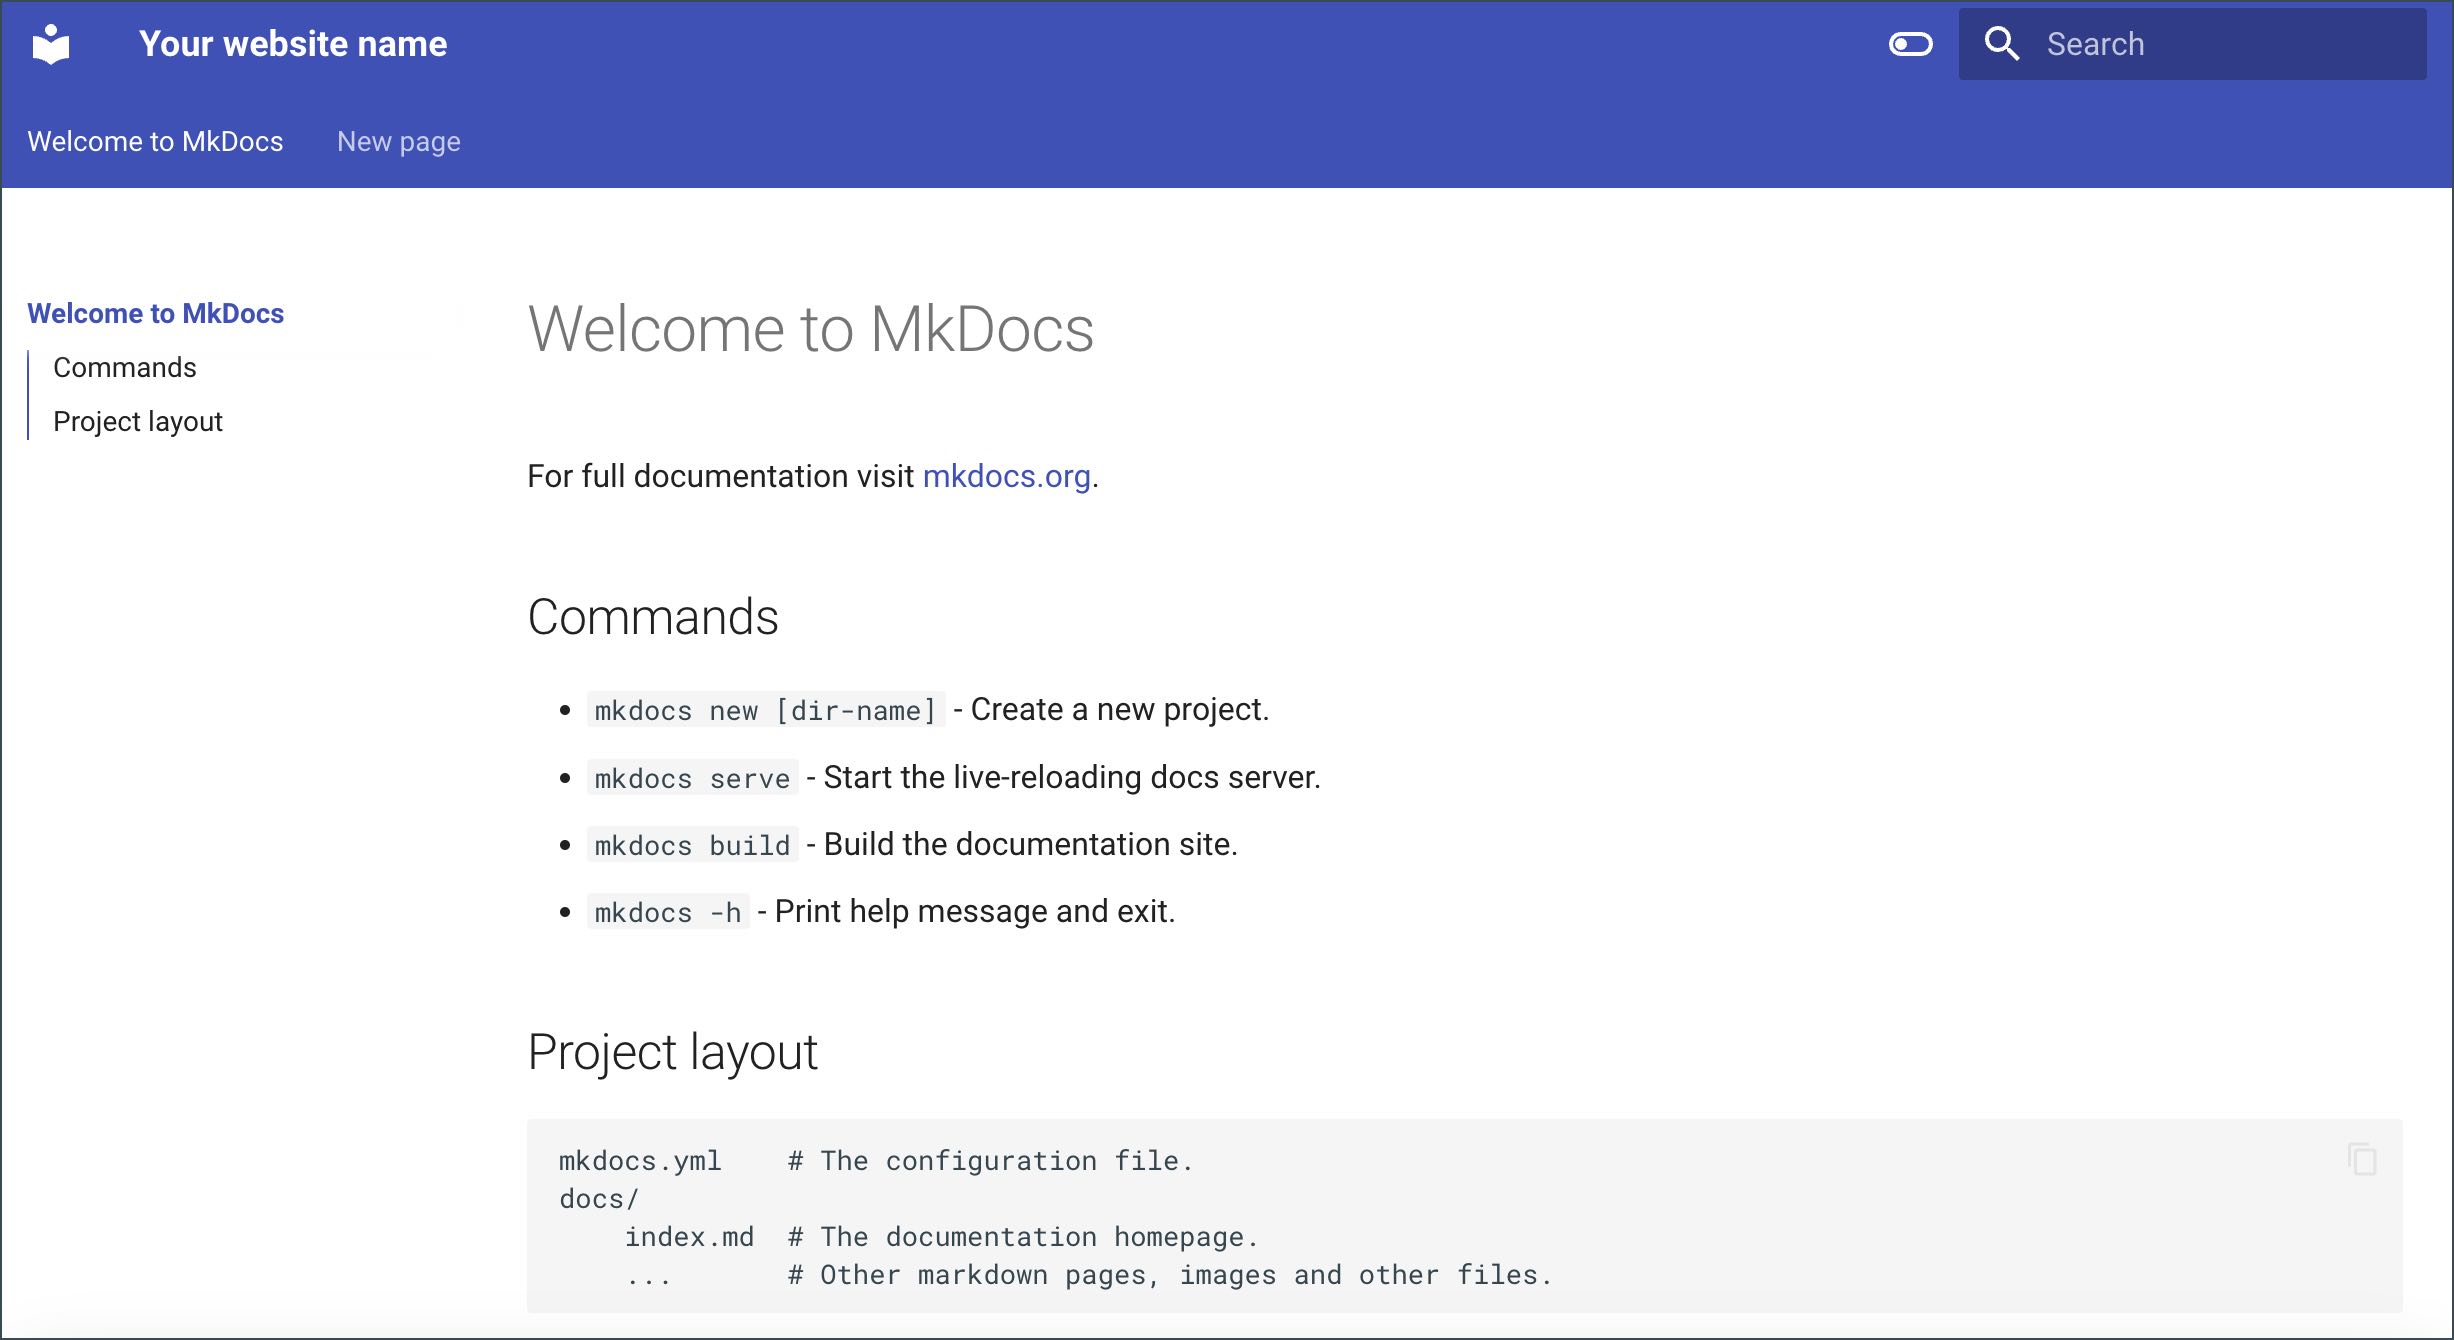
Edit the content to change theme, define language, add a search box, and set colours:
yml site_name: Your website name theme: name: material features: - navigation.tabs - navigation.sections - toc.integrate - navigation.top - search.suggest - search.highlight - content.tabs.link - content.code.annotation - content.code.copy - toc.follow - navigation.path language: en palette: - scheme: default toggle: icon: material/toggle-switch-off-outline name: Switch to dark mode primary: indigo accent: purple - scheme: slate toggle: icon: material/toggle-switch name: Switch to light mode primary: indigo accent: lime -
Save to apply the changes.
-
Use the following command to rerun the website configuration:
When you refresh the website in your browser by visiting the same local host, you can see the changes. If you need to add more settings to your website configuration and add extensions, use the Material for MkDocs documentation.
Add pages§
To add pages
- Go to the project folder in VS Code.
- Select the docs folder.
- Select New file.
- Enter the file name and define the .md format. For example, anotherpage.md.
- Save your file and open it.
- Add the text to be displayed on the newly added page.
- Save the changes.
When you refresh the page, you can see the changes.
Publish website on GitHub§
To prepare files for publishing
- Open your website project in VS code.
- Create the .github folder.
- In the .github folder, create the workflows folder.
- In the the workflows folder, create ci.yml file.
-
Paste the following code to the file:
name: ci on: push: branches: - master - main permissions: contents: write jobs: deploy: runs-on: ubuntu-latest steps: - uses: actions/checkout@v3 - uses: actions/setup-python@v4 with: python-version: 3.x - uses: actions/cache@v4 with: key: ${{ github.ref }} path: .cache - run: pip install mkdocs-material - run: pip install pillow cairosvg - run: mkdocs gh-deploy --force -
Save changes.
- Open you GitHub Desktop, add comment and commit changes to GitHub.
- Select Push origin to push changes to the origin remote repository. The website project files are now stored on GitHub.
To publish website using GitHub pages
- On GitHub, open the project repository.
- Go to Settings > Pages.
- For Source, leave Deploy from a branch.
- For Branch, select gh-pages and save.
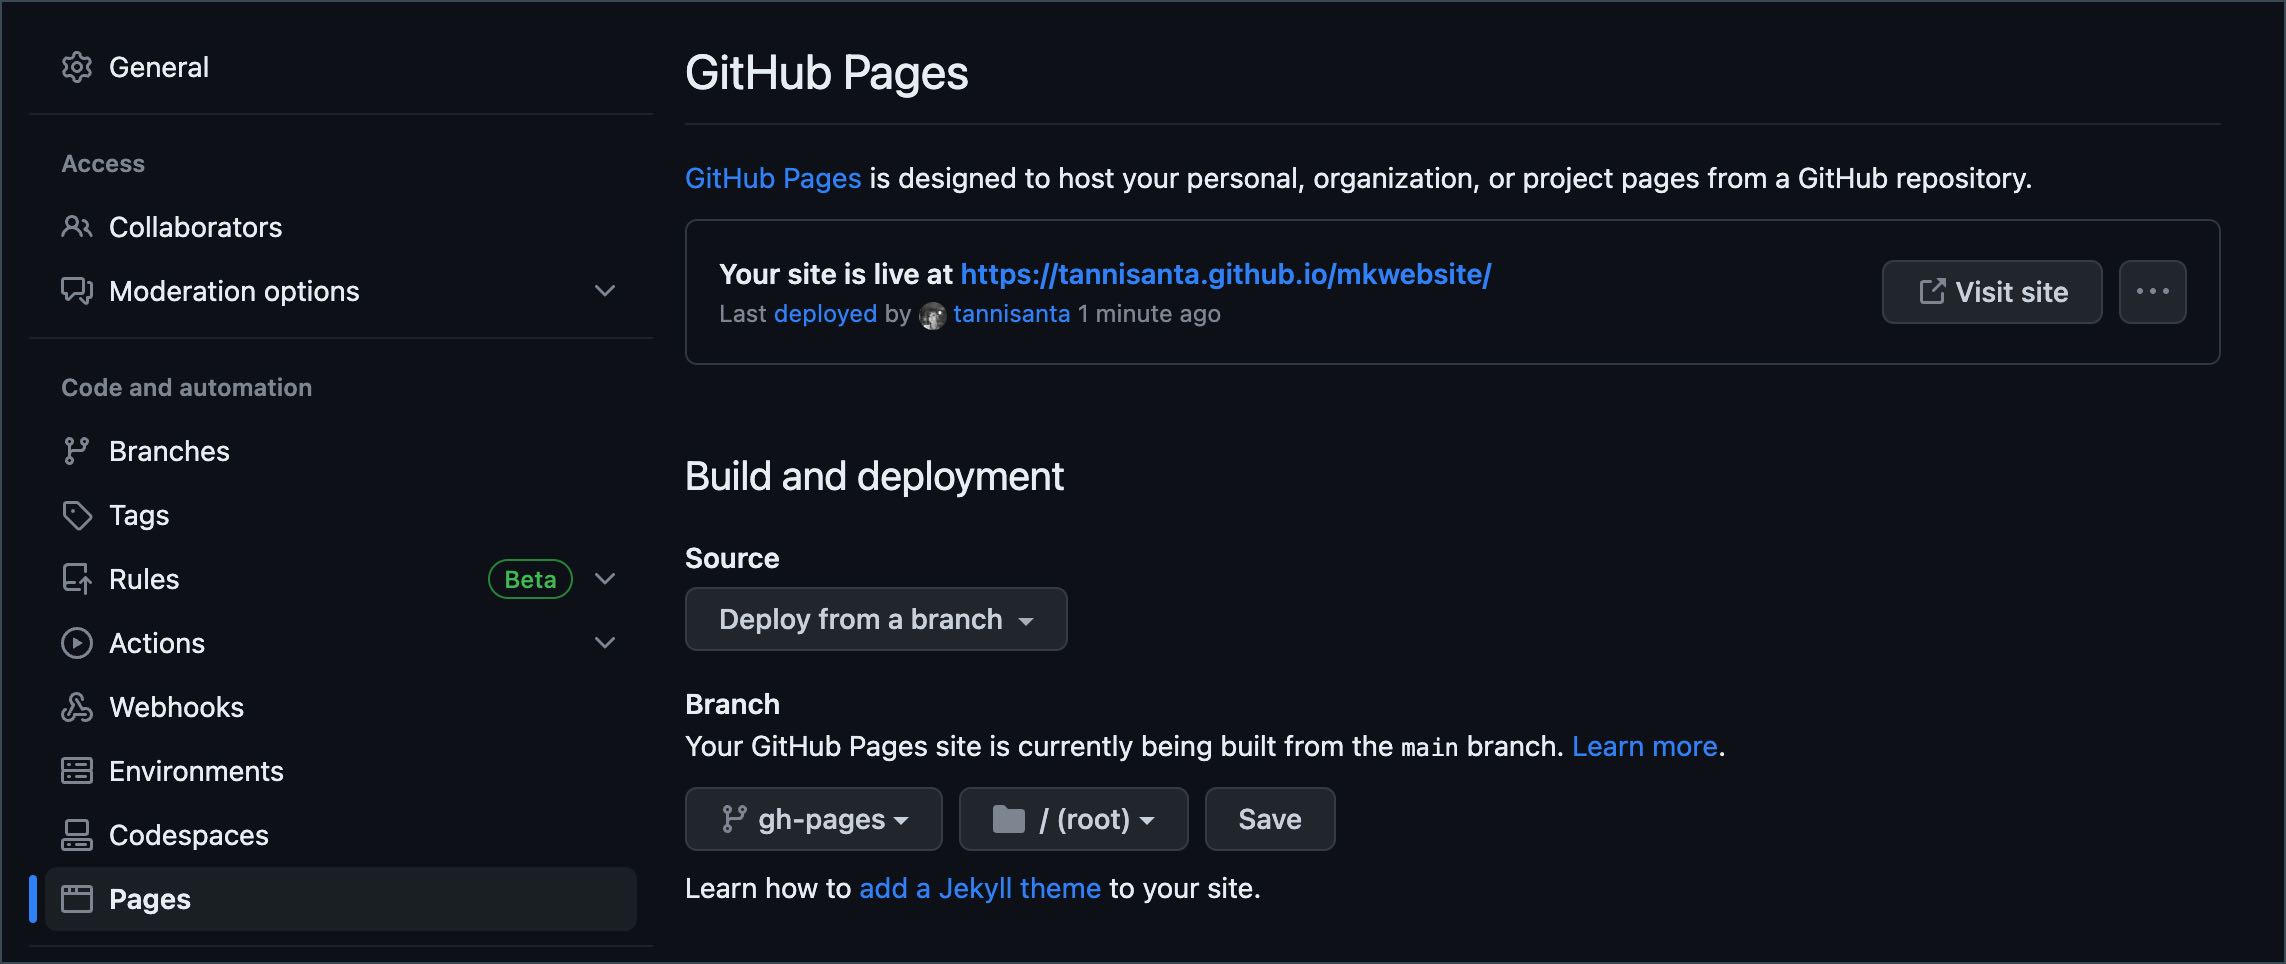
- Go to the Actions tab. You can see that the website is being deployed to GitHub pages.
- Open the pages build and deployment and follow the link in deploy box. The website is published.
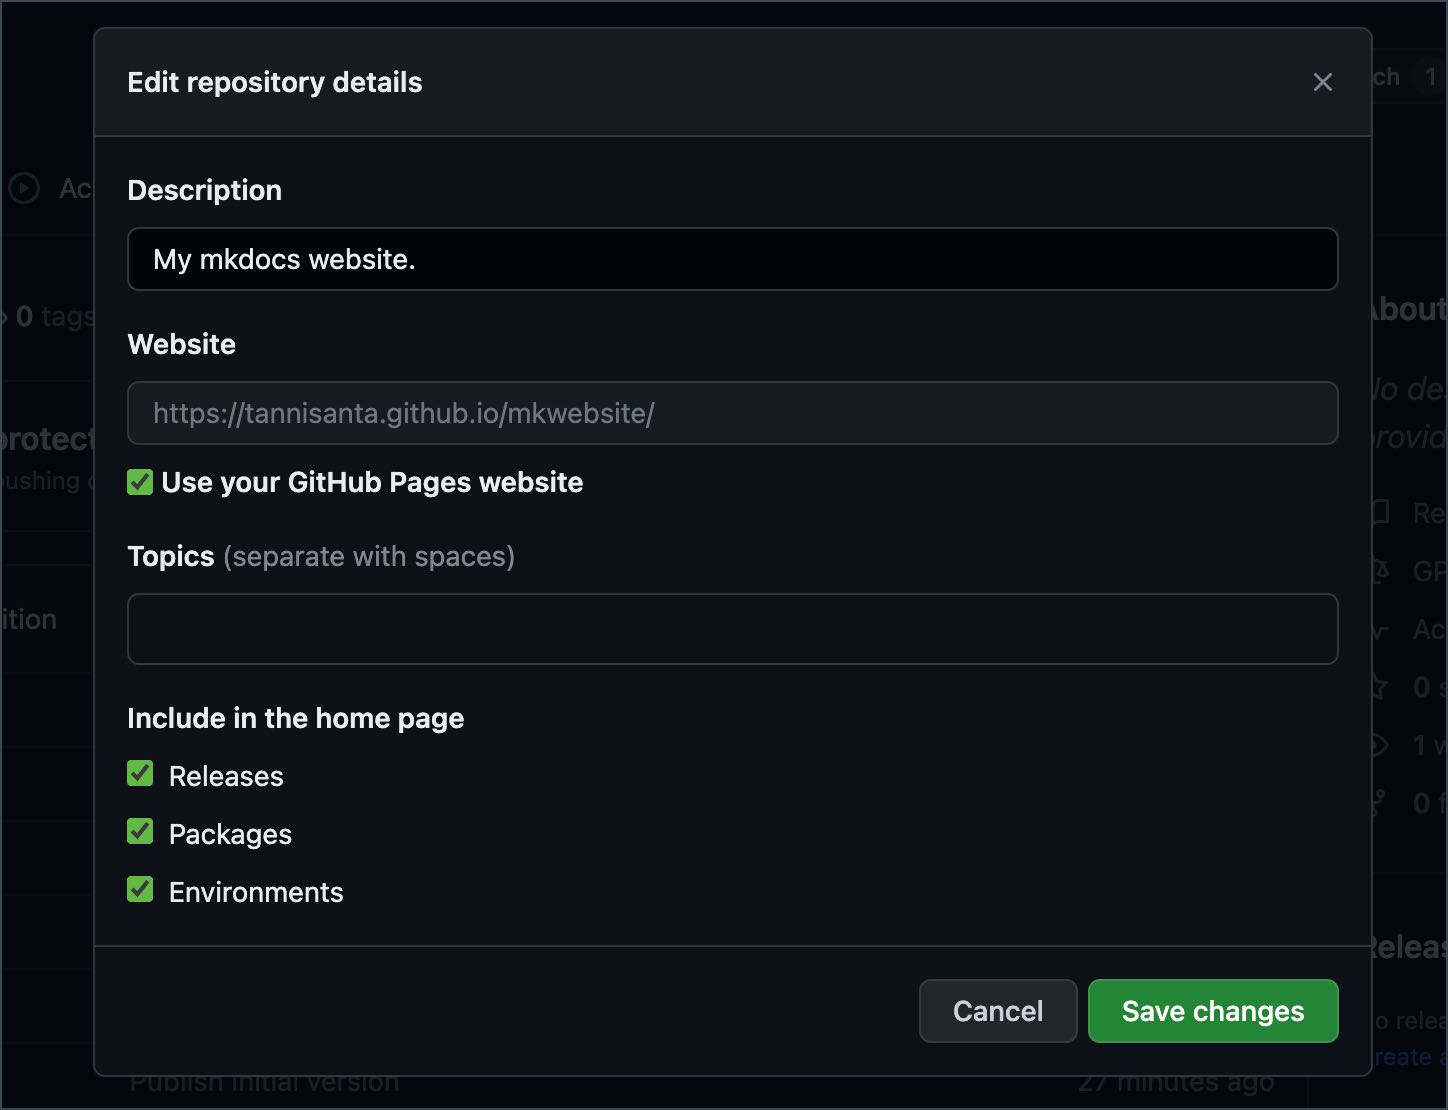
- Add a direct link to the repository About section by opening settings, selecting the Use your GitHub Pages website checkbox, and saving the changes.
You can know access your website and share it with others, make changes locally and push them to GitHub. The website is automatically deployed after you push your changes.
References